

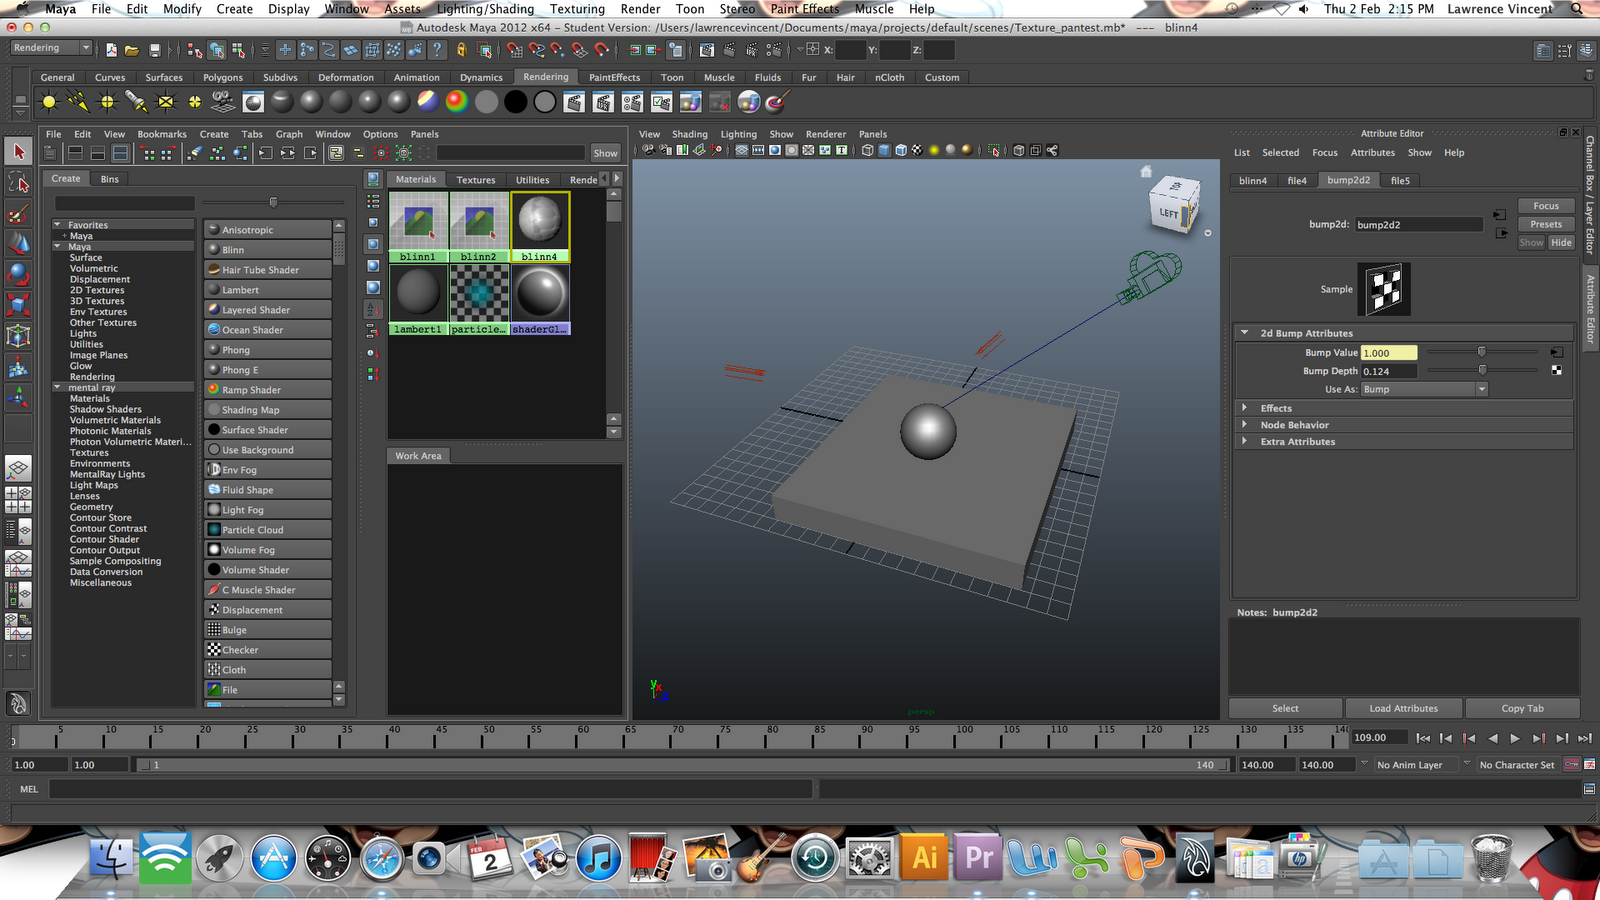
I have decided to start playing around with some textures and lighting. I wanted to see how realistic and beleivable I could make the scene.
To do this I created both a cube and a sphere. I key framed the ball jumping up and down and animated the camera to pan around the stage.

(Above) I added two directional lights. These are shown as two red lines pointing down upon the shapes.
The lights can only be visible once the frame has been fully rendered. The left hand frame shows the perspective from the camera pointing down at the ball. The camera is shown to the right pointing down at the 'point of interest'.
To add texture I had to create something known as a 'blinn'. I still don't fully understand what these are fully capable of doing but they appear to create a surface upon the shapes. I dowloaded an image file of some wood. By uploading the wood image onto the blinn the wood can be applied onto the surface of the cube.


After rendering the frame the 'blinn' appears to have applied the wood onto the cube. The lighting effects and shadows can also be viewed.
 The wood, however feels a little flat. So I decided to investigate into how to roughen it up and make it look more like chunky wood....
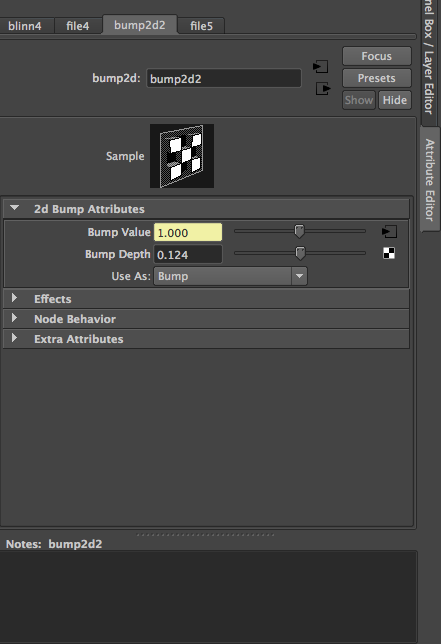 To do this I had to create an alpha channel of the wood image. To do this I used photoshop forming a black and white image of the wood. By applying the Black and white image of the wood onto a 'bump map' the computer cleverly recognises that the black edges of the image are to be lowered creating depth. Using a sliding control the depth of the texture can be controlled.
 The wood now looks a little more textured. Also as the camera pans around the lighting reflection changes.
Finished clip:
No comments:
Post a Comment